Custom Theme
A theme in Nextra works like a layout, that will be rendered as a wrapper for all pages. This docs will walk you through the process of creating a custom theme.
Note
Source code for the following custom theme can be found here .
Create a custom theme
Create a root layout
app/layout.tsx
import type { Metadata } from 'next'
import { Head } from 'nextra/components'
import { getPageMap } from 'nextra/page-map'
import type { FC, ReactNode } from 'react'
import { NextraTheme } from './_components/nextra-theme'

export const metadata: Metadata = {
  title: {
    absolute: '',
    template: '%s - Nextra'
  }
}

const RootLayout: FC<{ children: ReactNode }> = async ({ children }) => {
  const pageMap = await getPageMap()
  return (
    <html lang="en" dir="ltr">
      <Head faviconGlyph="✦" />
      <body style={{ margin: 0 }}>
        <NextraTheme pageMap={pageMap}>{children}</NextraTheme>
      </body>
    </html>
  )
}

export default RootLayout
Create mdx-components file
mdx-components.jsx
import { useMDXComponents as getNextraComponents } from 'nextra/mdx-components'
import { TOC } from './app/_components/toc'

const defaultComponents = getNextraComponents({
  wrapper({ children, toc }) {
    return (
      <>
        <div style={{ flexGrow: 1, padding: 20 }}>{children}</div>
        <TOC toc={toc} />
      </>
    )
  }
})

export const useMDXComponents = components => ({
  ...defaultComponents,
  ...components
})
app/_components/toc.tsx
import type { Heading } from 'nextra'
import type { FC } from 'react'

export const TOC: FC<{ toc: Heading[] }> = ({ toc }) => {
  return (
    <div style={{ background: 'lightblue', padding: 20 }}>
      <h3>Table of Contents</h3>
      <ul>
        {toc.map(heading => (
          <li key={heading.id}>{heading.value}</li>
        ))}
      </ul>
    </div>
  )
}
Create a basic theme
You can now start working on your theme! Create the nextra-theme.tsx file, it
accepts a children prop, which is the MDX content of the current page, and
wraps some other elements around the content:
app/_components/nextra-theme.tsx
import type { PageMapItem } from 'nextra'
import { version } from 'nextra/package.json'
import type { FC, ReactNode } from 'react'
import { Footer } from './footer'
import { Navbar } from './navbar'
import { Sidebar } from './sidebar'

export const NextraTheme: FC<{
  children: ReactNode
  pageMap: PageMapItem[]
}> = ({ children, pageMap }) => {
  return (
    <>
      <h1
        style={{
          margin: 0,
          padding: 20,
          background: 'lightslategray',
          fontWeight: 'normal'
        }}
      >
        Custom theme demo for <strong>Nextra {version}</strong>
      </h1>
      <Navbar pageMap={pageMap} />
      <div style={{ display: 'flex' }}>
        <Sidebar pageMap={pageMap} />
        {children}
      </div>
      <Footer />
    </>
  )
}
Create navbar and footer
app/_components/footer.tsx
import type { FC } from 'react'

export const Footer: FC = () => {
  return (
    <footer style={{ background: 'lightsalmon', padding: 20 }}>
      Powered by Nextra {new Date().getFullYear()}
    </footer>
  )
}
app/_components/navbar.tsx
'use client'

import { usePathname } from 'next/navigation'
import type { PageMapItem } from 'nextra'
import { Anchor } from 'nextra/components'
import { normalizePages } from 'nextra/normalize-pages'
import type { FC } from 'react'

export const Navbar: FC<{ pageMap: PageMapItem[] }> = ({ pageMap }) => {
  const pathname = usePathname()
  const { topLevelNavbarItems } = normalizePages({
    list: pageMap,
    route: pathname
  })

  return (
    <ul
      style={{
        display: 'flex',
        listStyleType: 'none',
        padding: 20,
        gap: 20,
        background: 'lightcoral',
        margin: 0
      }}
    >
      {topLevelNavbarItems.map(item => {
        const route = item.route || ('href' in item ? item.href! : '')
        return (
          <li key={route}>
            <Anchor href={route} style={{ textDecoration: 'none' }}>
              {item.title}
            </Anchor>
          </li>
        )
      })}
    </ul>
  )
}
Create sidebar
app/_components/sidebar.tsx
'use client'

import { usePathname } from 'next/navigation'
import type { PageMapItem } from 'nextra'
import { Anchor } from 'nextra/components'
import { normalizePages } from 'nextra/normalize-pages'
import type { FC } from 'react'

export const Sidebar: FC<{ pageMap: PageMapItem[] }> = ({ pageMap }) => {
  const pathname = usePathname()
  const { docsDirectories } = normalizePages({
    list: pageMap,
    route: pathname
  })

  return (
    <div
      style={{
        background: 'lightgreen',
        padding: 20
      }}
    >
      <h3>Sidebar</h3>
      <ul
        style={{
          margin: 0,
          display: 'flex',
          flexDirection: 'column',
          listStyleType: 'none',
          padding: 0,
          gap: 20
        }}
      >
        {docsDirectories.map(function renderItem(item) {
          const route =
            item.route || ('href' in item ? (item.href as string) : '')
          const { title } = item
          return (
            <li
              key={route}
              style={{ padding: '4px 4px 4px 10px', border: '1px solid' }}
            >
              {'children' in item ? (
                <details>
                  <summary>{title}</summary>
                  {item.children.map(child => renderItem(child))}
                </details>
              ) : (
                <Anchor href={route} style={{ textDecoration: 'none' }}>
                  {title}
                </Anchor>
              )}
            </li>
          )
        })}
      </ul>
    </div>
  )
}
Add first MDX page
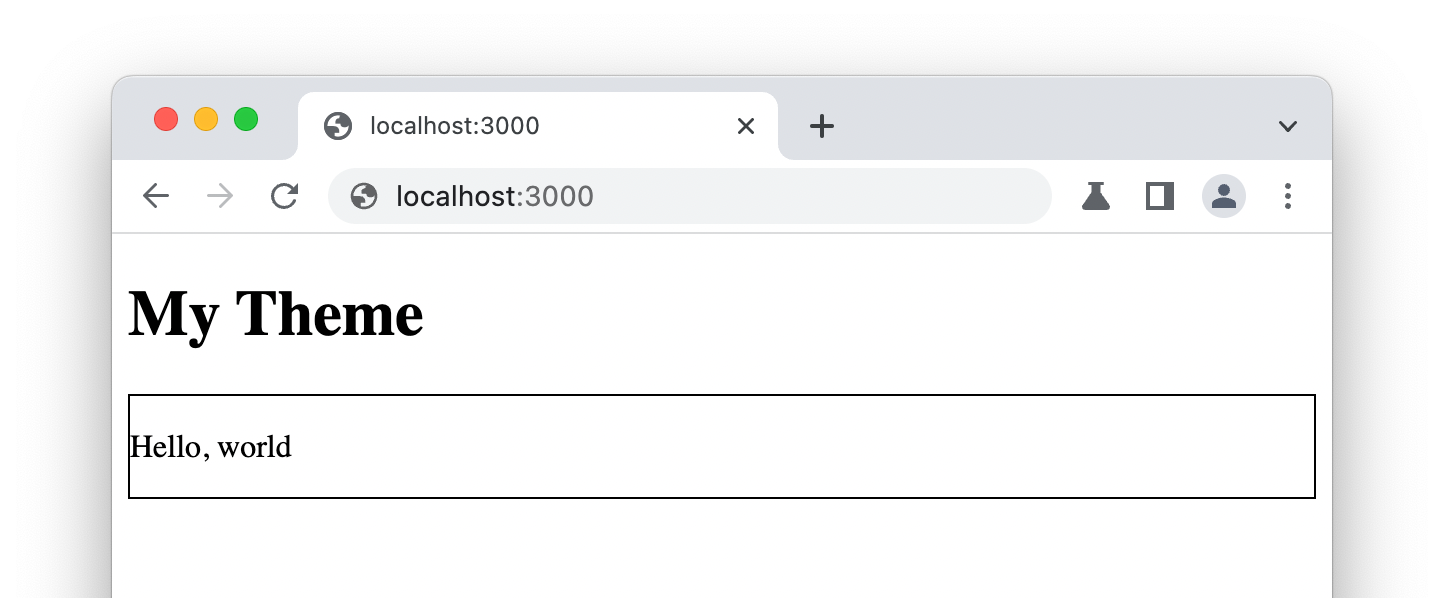
After creating the theme, you can simply add a MDX file as app/page.mdx and
see the result:
Inside your theme layout, you can use CSS imports or other ways to style it.
Next.js hooks such as usePathname are also available.
Last updated on